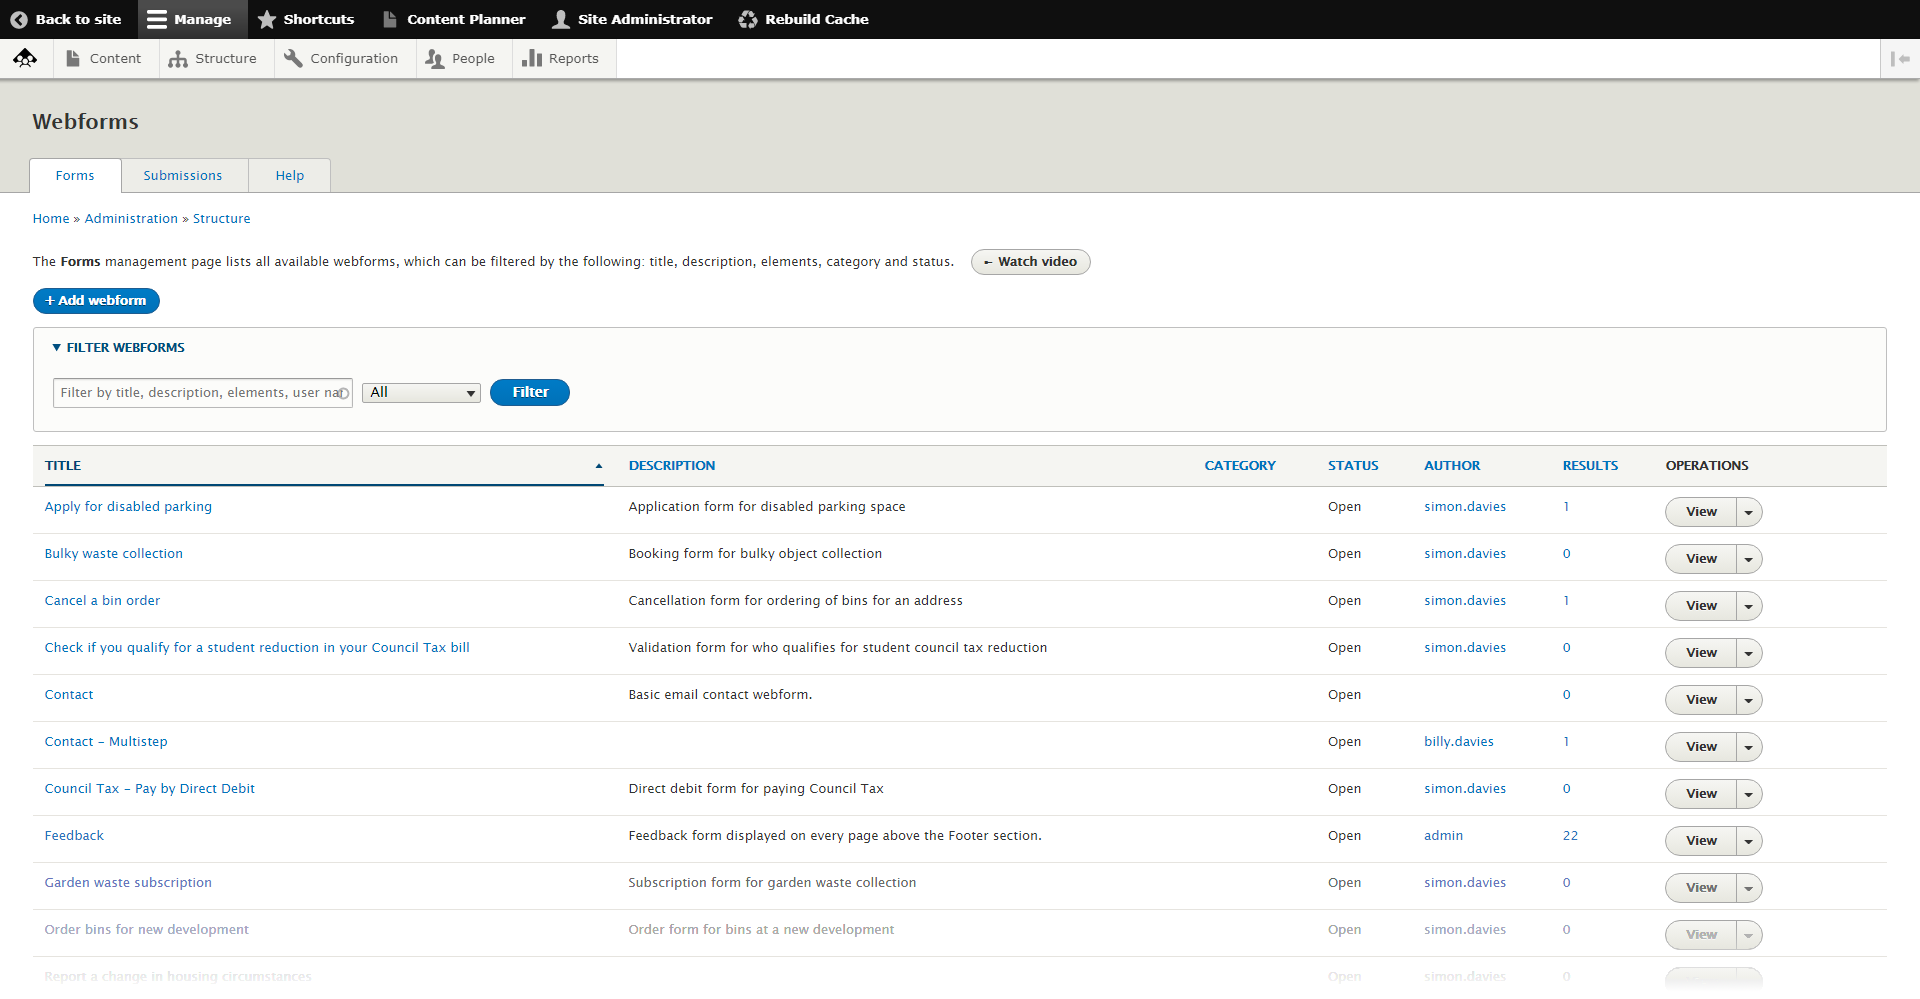
Creating a Webform is relatively simple in Council Platform. As with webpages there is a dedicated webform page listing all the Webforms on the site with add, edit, duplicate, and delete options.

Similar to webpages, you build your form by adding different building blocks, only instead of using Blocks as webpages do, webforms use Elements.
How to create a new Webform:
- Go to Structure -> Webforms
- Click + Add webform
- Give your webform a title and click Save. You will be automatically taken to the webform Build page.
- Click + Add element to be shown a list of Elements to choose from. Elements are all the different components that make up a form. This can include tickboxes, text fields, and descriptive text. Elements exist for common form requirements. For example, the Address Element is a list of text fields for house number, road, town/city, county, and country. You can choose which fields the Element should display and if it is mandatory to fill out. Click Save to add the configured Element to the webform
- After adding your Elements, you can then click View to see your Webform, or better yet, click Test. This will pre-populate the Webform elements with content so you can submit it and confirm the data is received.
There are many different Elements covered in our documentation, covering the vast majority of use cases. For example, instead of having to add a list of basic Text Field Elements manually labelled Title, Forename, Middle Name, Surname, etc., you can add the Name Element that contains all of these pre-formatted.
And instead of adding Name, Address, and Telephone Elements, you can add a Contact Element that has all those fields as options.
In later videos, we will cover how you can view and process Webform submissions, create multi-step Webforms, and add a Webform to an existing page.